How to use BlockFX
Step 1: Download TronLink Wallet
To enhance your user experience, we recommend accessing the BlockFX website directly through your mobile TronLink Wallet. In case you don’t have the TronWallet, you can conveniently download it from either the iOS App Store or the Android Play Store.
Step 2: Create or Import Wallet
Once you’ve installed the app on your mobile device, you have the option to either import your current Tron Wallet or create a new one within the TronLink Extension. After setting up your wallet, you will need to send the desired amount of USDT (TRC20) for trading purposes, as well as a minimum of 1500 TRX (equivalent to $50) to cover gas fees to your wallet.
Remember to only send USDT TRC20 to your TronLink Wallet.
Step 3: Open Website in your Tron Wallet Browser
Navigate to the lower section of your screen and tap on the “Discover” button within the bottom navigation. It will open the browser functionality, allowing you to enter the website URL https://blockfx.io.
Step 4: Member Login or Register
To initiate the connection process, you can either click on “Connect to Trade” located at the top right menu slider of the page or access it directly from the homepage.
- If you are already a member, simply click on “Connect your Wallet” and your TronLink Wallet will be deployed for you to approve and establish the connection.
- Click on “Approve” and you will be successfully logged into the BlockFX system.
If you are not a member, you will have to register with a Block Code
- Click on the “Please register” link
- Enter your Block Code and click on “Connect your wallet” and your TronLink Wallet will be deployed for you to approve and establish connection.
- Click on “Approve” and you will be successfully logged into the BlockFX system.
Step 1: Install TronLink Extension
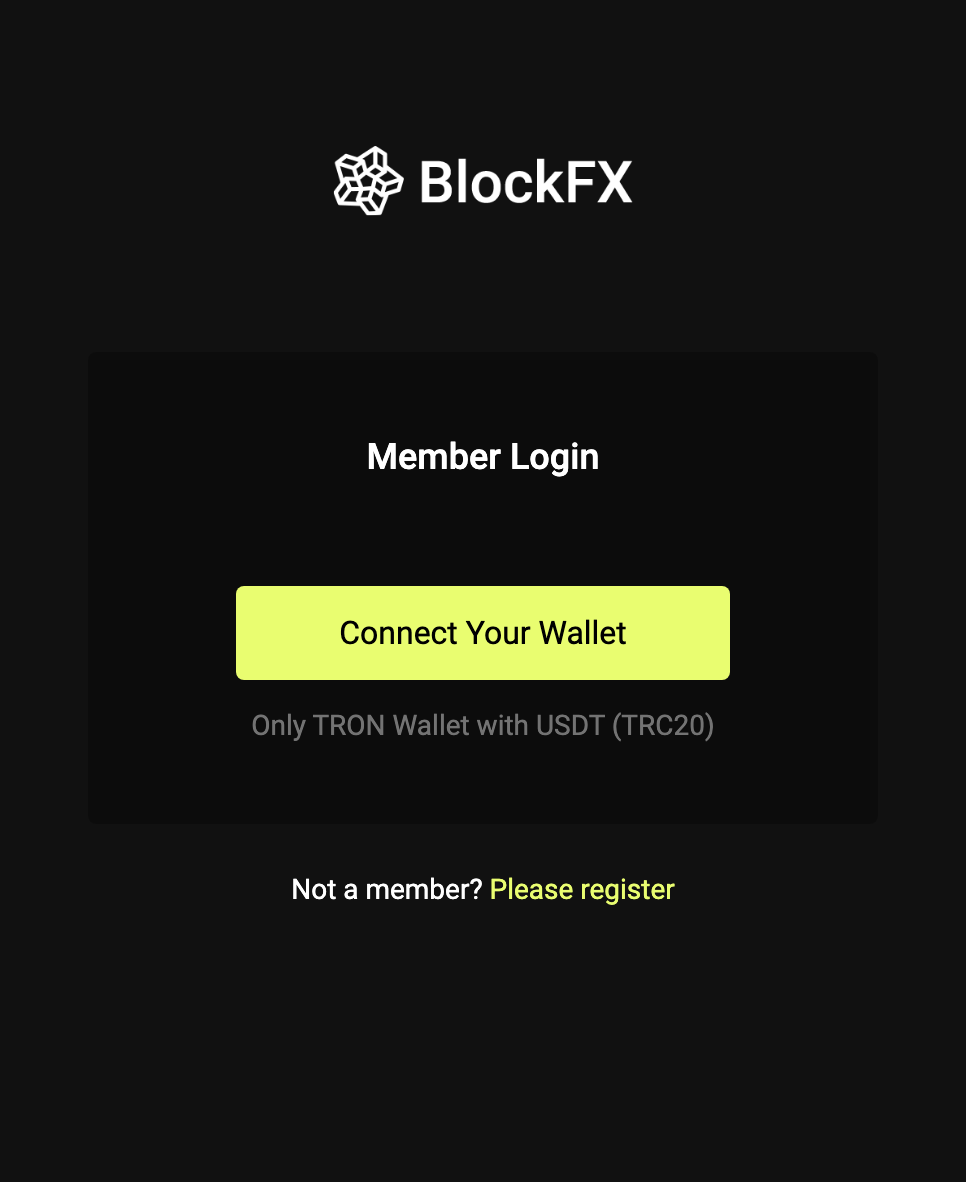
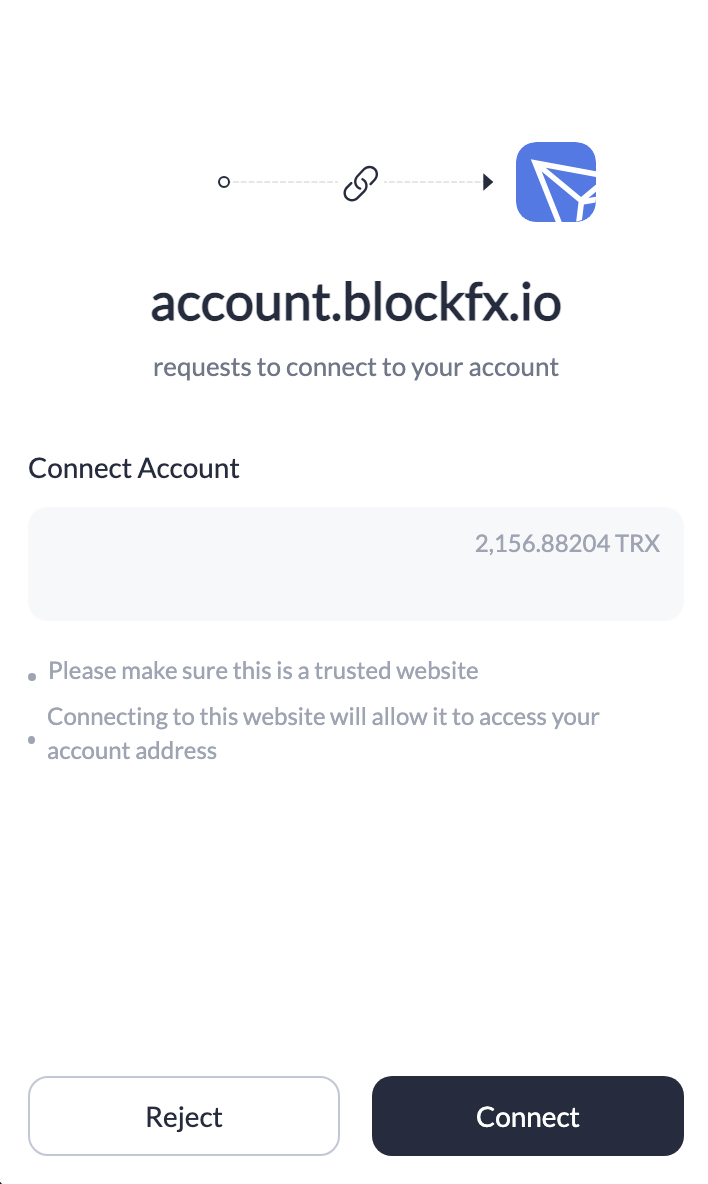
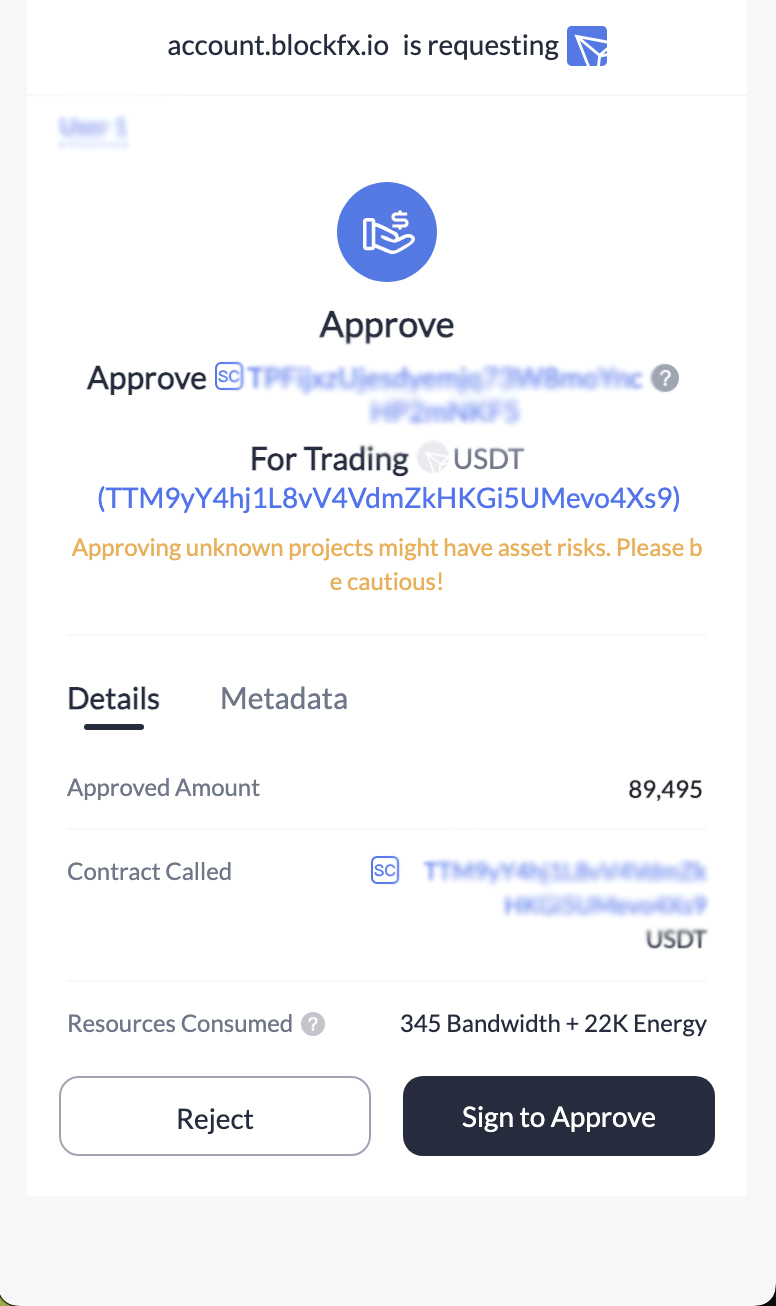
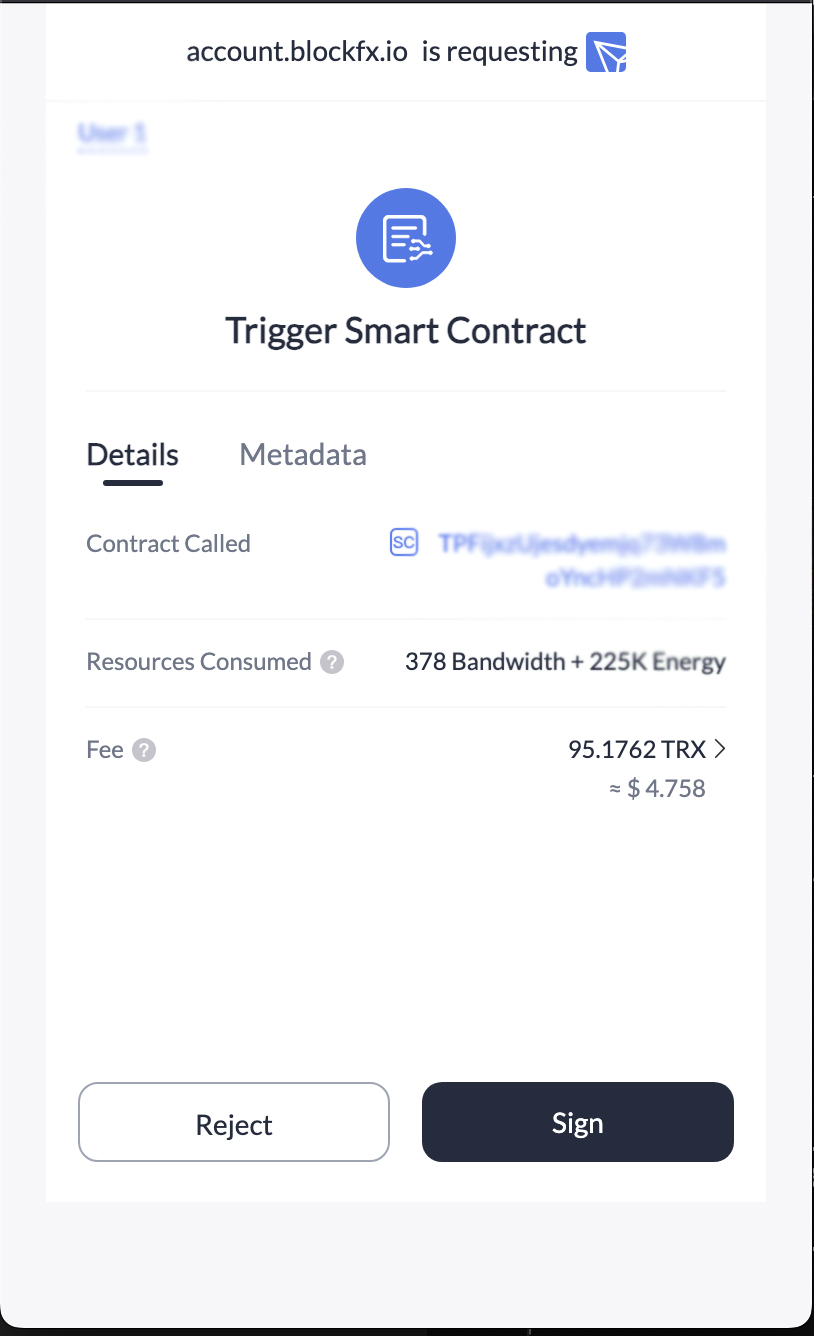
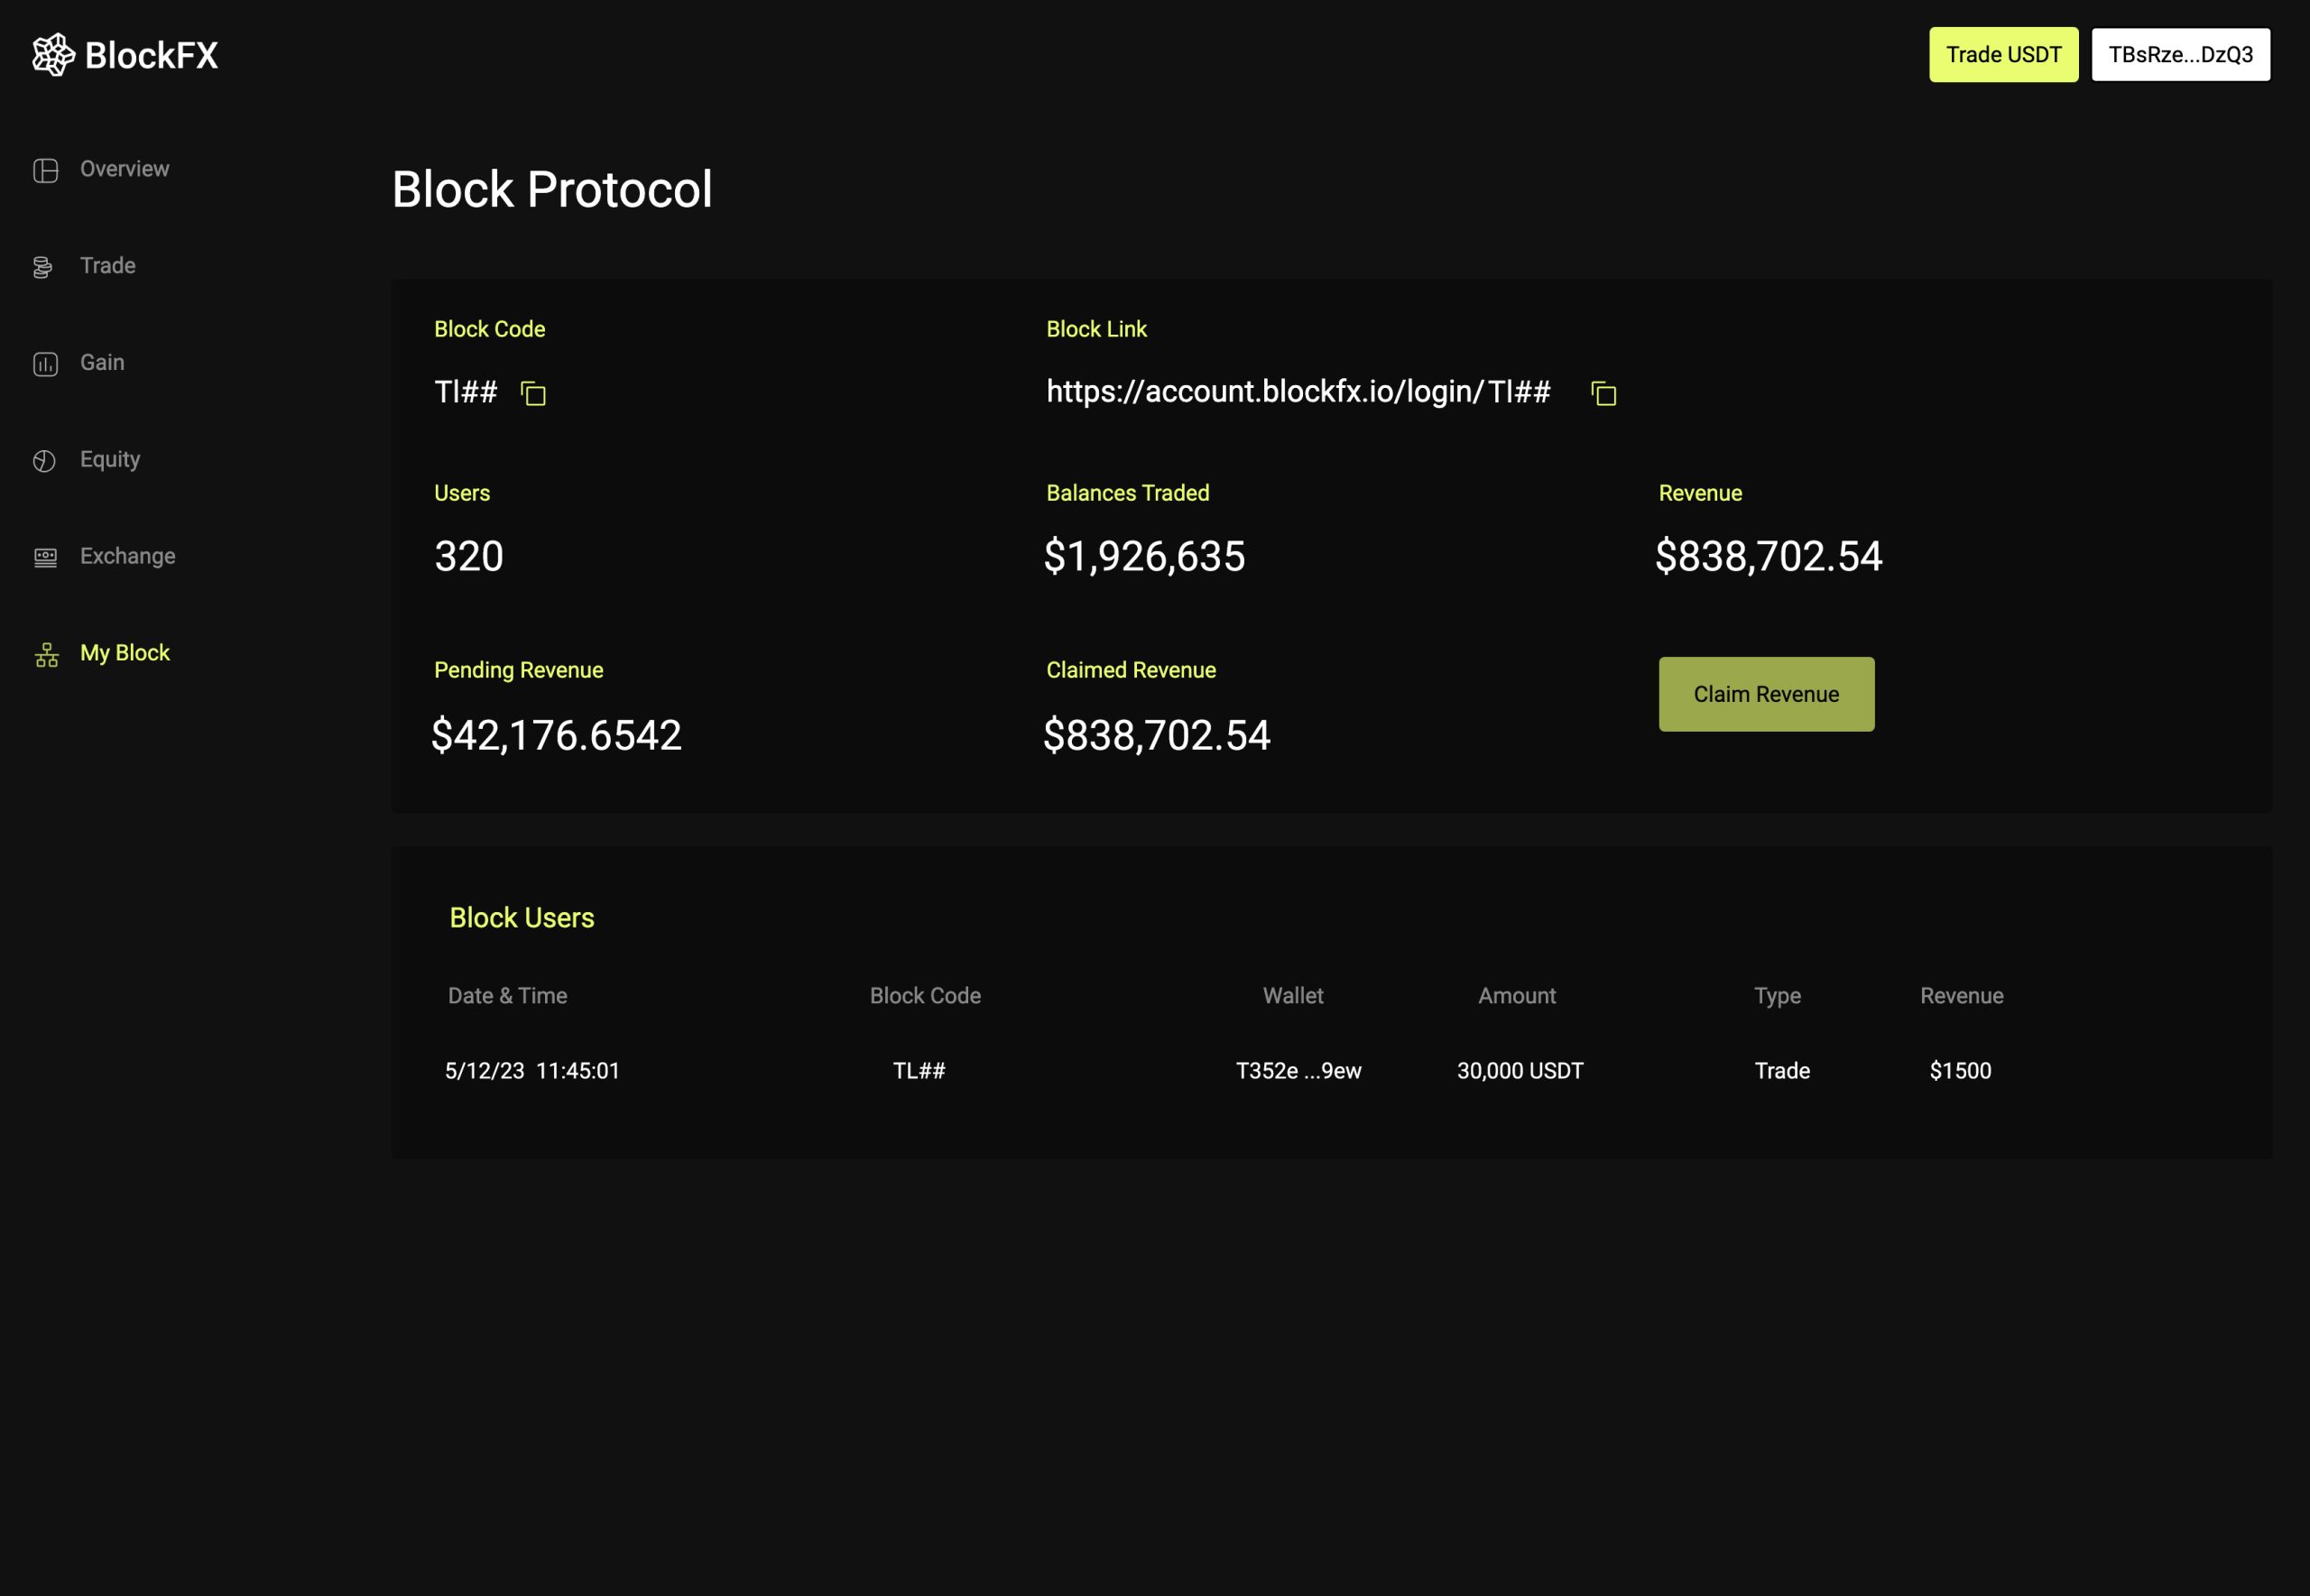
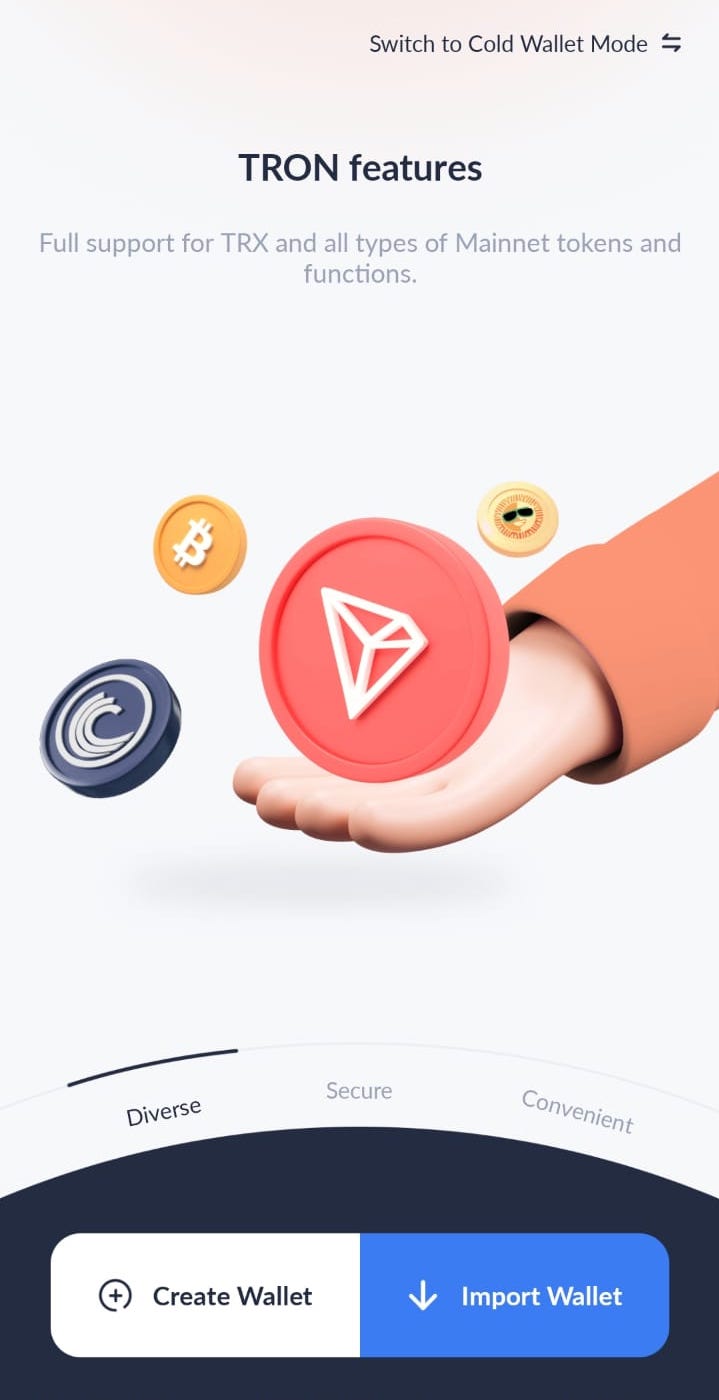
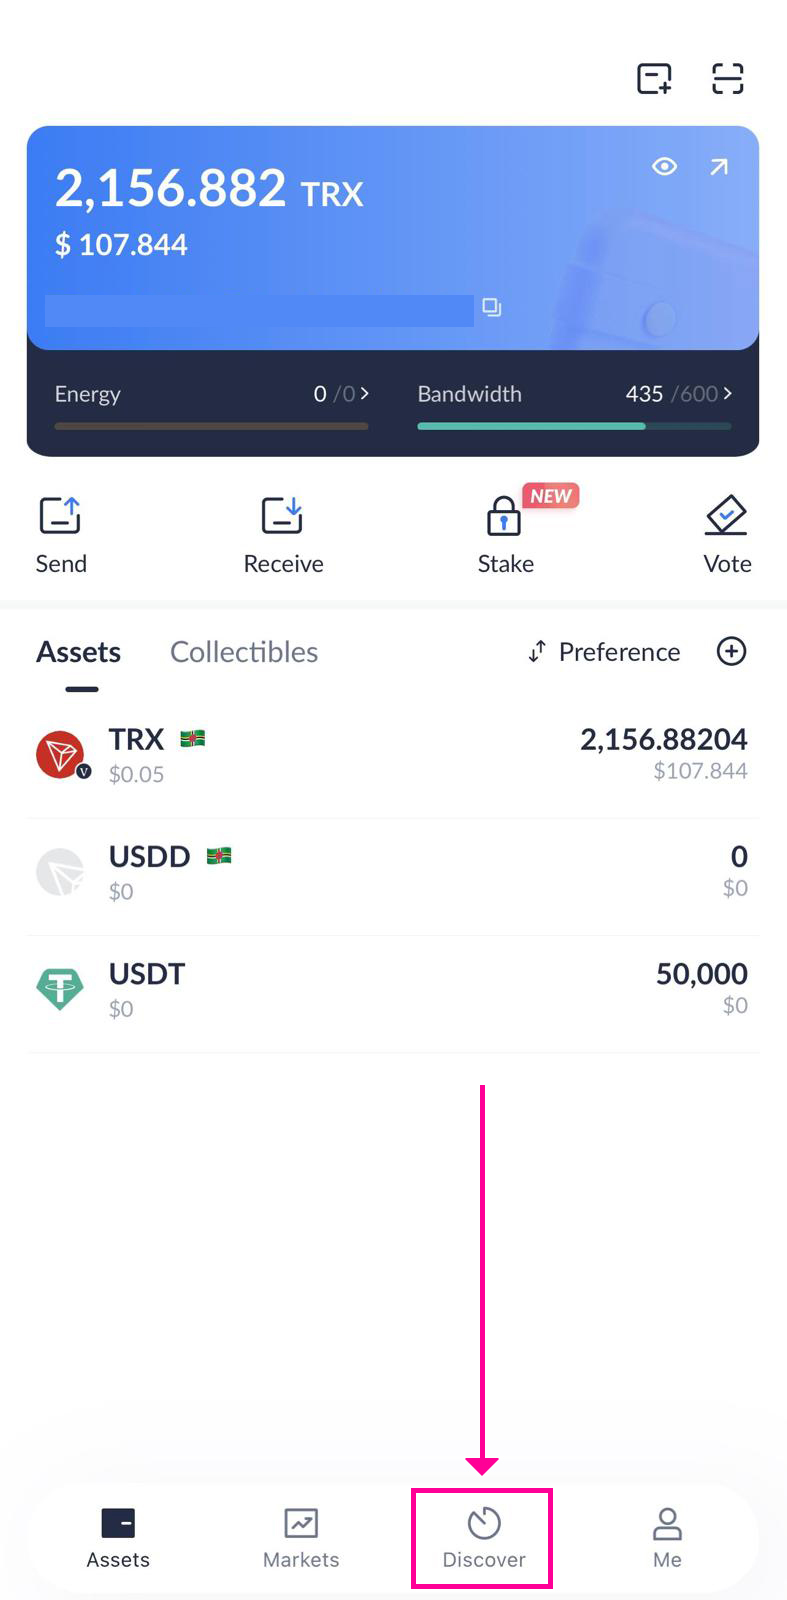
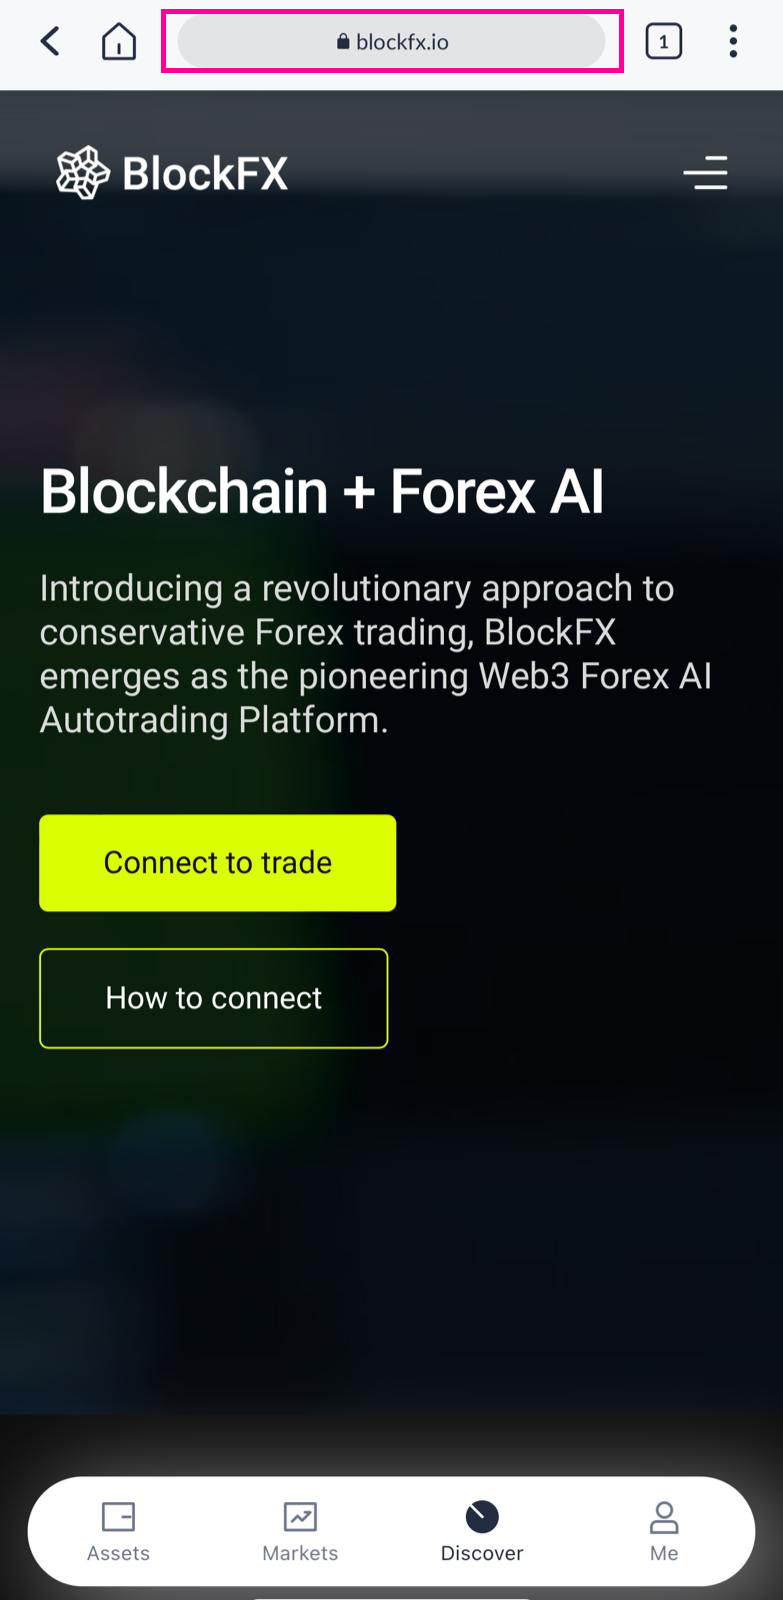
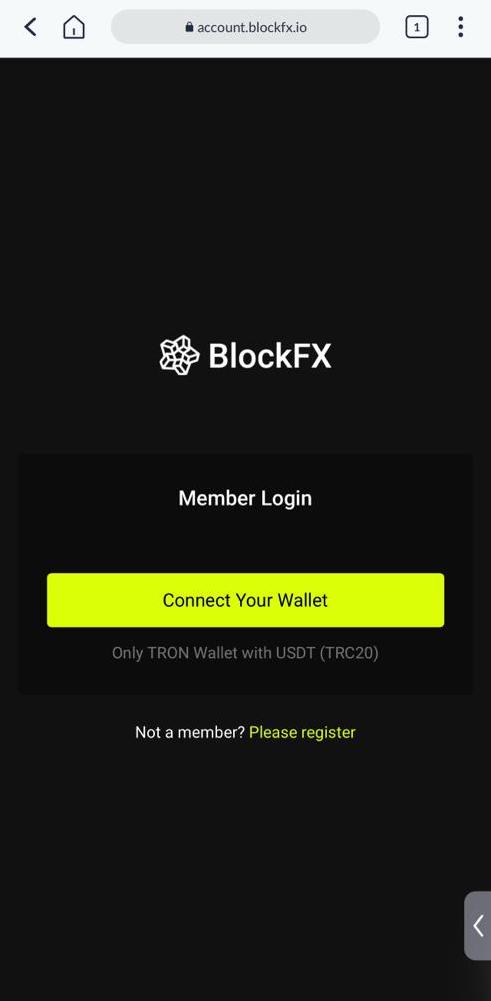
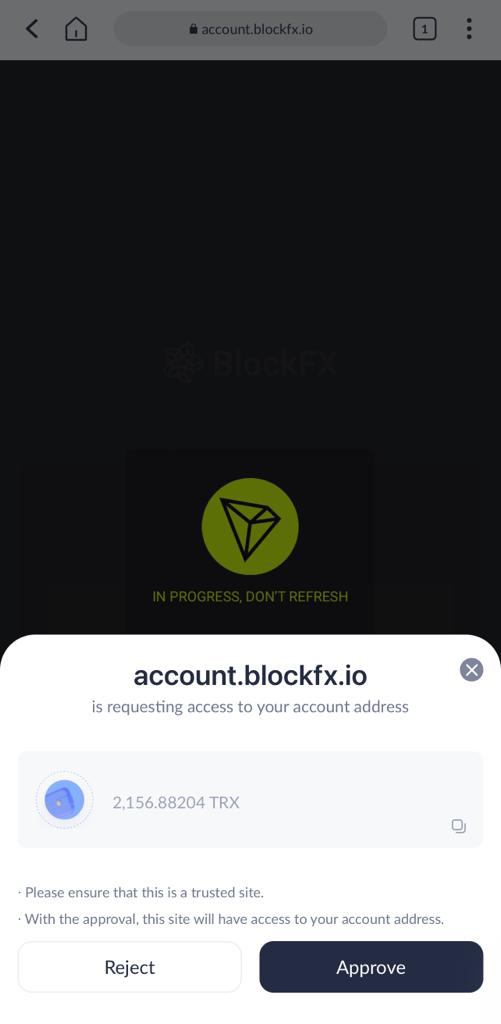
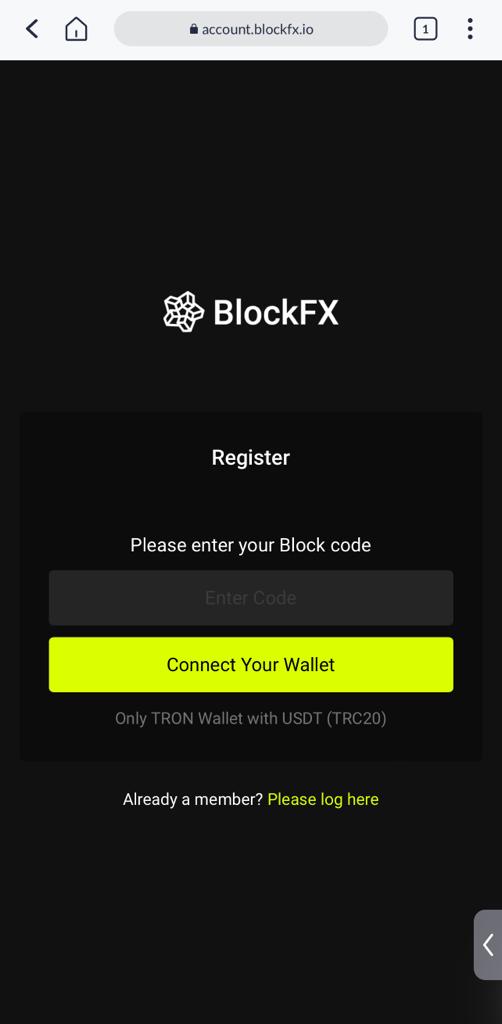
To utilize BlockFX, you need to have a Web3 browser like Google Chrome or Bravo and install the TronLink Wallet Extension for seamless connectivity. If you don’t have the TronLink Extension installed, you can easily download it by opening one of these browsers and accessing the provided links below:
Step 2: Create or Import Wallet
Once you’ve installed the extension, you have the option to either import your current Tron Wallet or create a new one within the TronLink Extension. After setting up your wallet, you will need to deposit the desired amount of USDT (TRC20) for trading purposes, as well as a minimum of 1500 TRX (equivalent to $50) to cover gas fees.
Remember to only send USDT TRC20 to your TronLink Wallet.
Step 3: Member Login or Register
To initiate the connection process, you can either click on “Connect to Trade” located at the top right corner of the page or access it directly from the homepage.
- If you are already a member, simply click on “Connect your Wallet” and your TronLink Wallet will be deployed for you to establish the connection.
- Click on “Connect” and you will be successfully logged into the BlockFX system.
If you are not a member, you will have to register with a Block Code
- Click on the “Please register” link
- Enter your Block Code and click on “Connect your wallet” and your TronLink Wallet will be deployed for you to establish connection.
- Click on “Connect” and you will be successfully logged into the BlockFX system.
The quickest way to get USDT (TRC20) to start trading!
You can get USDT (TRC20) via Simpleswap by following these steps:
1. First, buy the amount you want to trade in TRX (Tron) with your debit/credit card. Follow all the instructions and send the crypto to your TronLink Wallet.
2. Then go back to Simpleswap and exchange your TRX (Tron) for USDT (TRC20). Don’t exchange all your TRX, always keep some TRX for gas fees.
The Overview Page
Upon logging in, the overview page will be displayed, presenting a comprehensive summary of your trading account. This includes details such as:
- Equity, which represents the amount currently being traded,
- Gain, which reflects the net profit after calculating the profit and loss (P/L), and
- My Block Revenue for members who manage their own blocks.
Following that, the subsequent section showcases the five most recent account activities. Lastly, for those who are interested in generating additional income, there is a dedicated section that provides information on running their own Block.
Trade
Within the BlockFX trading system, this is the designated area where you can execute your trades. All you need to do is select a “Trading Cycle”, input the desired number of lots you wish to trade, and effortlessly click on the “Trade” button to proceed with the transaction.
Your wallet will prompt you to “Approve and Sign” the smart contract. Once you have reviewed and agreed to the terms, the contract will facilitate the transfer of your USDT to the trading pool. From this point forward, your primary task is to claim your gains on a weekly basis until the contract duration concludes. At the end of the contract, you have the option to either withdraw your funds or initiate a fresh trading cycle.
Gain
Immediately after completing a trade, your gains will begin to accumulate. Your gain represents the profit exceeding your “Equity.” In situations where your equity falls below the water mark, the system will capture gains once the equity surpasses the watermark once again.
Once the weekly term is fulfilled, the “Withdraw” button becomes active, allowing you to instantly initiate a withdrawal. To proceed, simply click on the button and “Sign” the transaction using your wallet by following the prompted approval process.
Your wallet will prompt you to “Sign” the smart contract. Once you have reviewed and agreed to the terms, the contract will facilitate the transfer of your Gain to your wallet.
Equity
Upon the completion of your trading duration, you will have the option to withdraw your equity (minus the applicable system fees) or restart your trading journey directly on this page. It is important to note that both the restart and withdraw buttons remain inactive until the trading duration reaches its conclusion. Once you are prepared to take action, simply click on the respective button and proceed with the “Approve and Sign” prompt from your wallet to complete the transaction.
Your wallet will display a prompt requesting you to “Sign” the smart contract. Once signed, the contract will facilitate the transfer of your equity (with deductions for any applicable fees) back to your wallet. Alternatively, if you opt to restart, your wallet will prompt you to approve and sign the new smart contract, initiating the process for a fresh trading cycle.
The quickest way to get USDT (TRC20) to start trading!
You can get USDT (TRC20) via Simpleswap by following these steps:
1. First, buy the amount your want to trade in TRX (Tron) with your debit/credit card. Follow all the instructions and send the crypto to your TronLink Wallet
2. Then go back to Simpleswap and exchange your TRX (Tron) for USDT (TRC20). Don’t exchange all your TRX, always keep some TRX for gas fees.
My Block
My Block page is exclusively designed for Block owners. It provides them with valuable information including their Block code, link, the users associated with their Block, the balance being traded, the revenue generated by the Block (which constitutes 5% of all user transactions from their trading balance, the profit split for each user, as well as retrading activities and the 1% revenue from other Blocks generated by their Block codes).
To claim your revenue, simply wait until the pending revenue is filled, and then click on the “Claim Revenue” button. The TronLink wallet will prompt you to “Sign” the transaction, and your funds will be instantly transferred to your wallet.
Error Messages?
In the event of any issues with the platform (dApp), simply refresh the page or restart the TronLink wallet or the Google Chrome, and the database will rectify any discrepancies in smart contract readings or address any front-end design issues.
Timeout
If the countdown reach 0:00 or restart itself, it means the transaction didn’t go through due to 2 reasons:
- Lack of TRX to cover the gas fee (Energy + Bandwidth)
- Or the Transaction failed because the Tron blockchain’s congestion
Simply add more TRX if it’s low, refresh and start the transaction again
Platform Issue
BlockFX operates entirely on a smart contract system. Once the smart contract is deployed on the blockchain, it becomes immutable and cannot be modified by BlockFX developers. This means that the developers have no authority to withdraw, deposit, send or receive cryptocurrencies, or reverse/cancel transactions. Your funds are securely locked within the smart contract and can only be released at the conclusion of the trading cycle and when the equity reaches the initial water mark specified in the smart contract.
System Fees
When members choose to withdraw their funds, the system deducts all applicable fees. It is important to note that the system trades based on the exact equity, and all the gains generated are relative to the equity amount.
BlockFX Protocol applies a 6% fee to all transactions, with 5% allocated to the Block holders and 1% retained by the protocol and developers.
Transaction list:
- Trade Deposit
- Gain Withdrawal
- Trade Restart
- Unlocked Balance Withdrawal (varies based on Protocol Nodes activities – additional 15%)
- Tron Blockchain Gas Fee (varies based on traffic)
Remember that the precise details of fee structures and transaction processes may vary, and it is advisable to consult BlockFX’s official website or contact their support team for the most accurate and up-to-date information.